Raspberry Pi 2B doesn’t have a inbuilt WLAN interface so I’m using TP-Link Nano WLAN usb adapter to connect to internet. Raspberry Pi OS (Raspbian) does not have a default driver for TP-Link nano, so every time I reset my Pi, it’s a little hassle to setup the Wi-Fi.
I’m a Linux dummy so every time I had to google search the forum threads to do this. Therefore in this post, I’ve listed all the steps needed to setup the driver, how to enable SSH and connect remotely for my own reference. Hope it will help you somehow 😎
Finding the Correct TP-Link Driver Version for your Pi
Open a terminal and type
uname - aThis will print the Linux version

Version installed in my Pi is 5.10.17-v7 #1403
Get the Driver Version
Once you found the Linux version, download the correct driver to the PC (I’m using Windows) from Fars Robotics Wi-Fi Drivers.
Driver name is defined with the Linux version so it’s important to get the correct driver for the Linux build
driver name: 8188eu-[LINUX VERSION].tar.gz

Download the driver and transfer to Pi using usb stick
Install the Driver
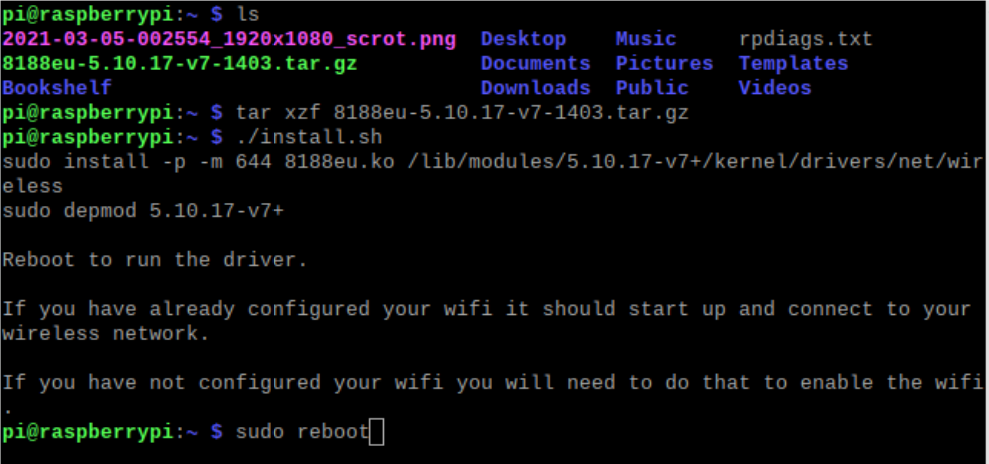
I’ve copied the file to the home directory. Open terminal and type following commands to extract and install. Once the driver is installed, reboot Pi.
tar xzf  8188eu-[LINUX VERSION].tar.gz
./install.sh
sudo reboot
Once the Pi is rebooted, you should see the available Wi-Fi networks in top right corner.
Enable SSH
Open terminal and type
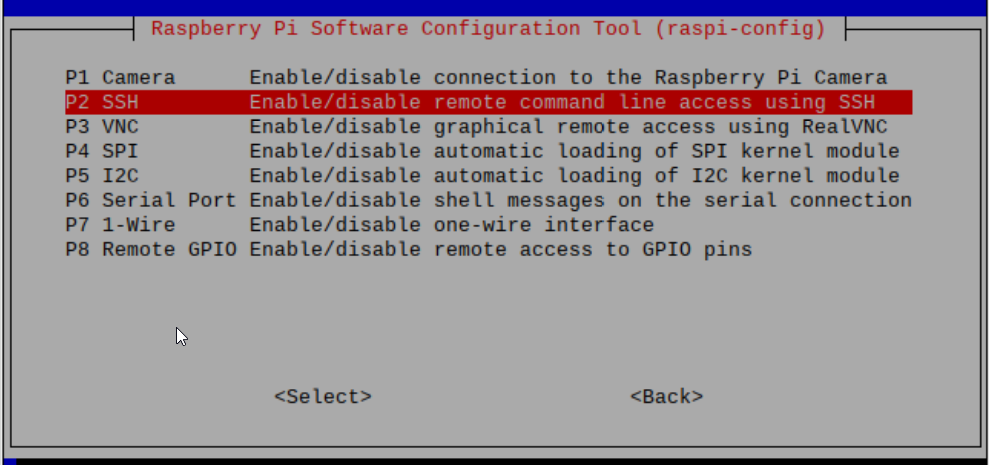
sudo raspi-configGo to Interface Options –> P2 SSH, Enable SSH

then type ifconfig in terminal to find the IP of your Pi.
Go to windows, open Putty (Download Link) and open a session

username: pi
password: password given when you setup Pi
Now you are connected to the Pi!


Leave a Reply